Wednesday, August 31, 2011

Ruffled Burlap Wreath {Tutorial}

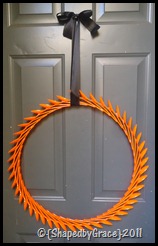
Even though I DO NOT want summer to end - we are starting to get ready for fall over here! Which is okay, because it is one of my favorite decorating seasons! {After Christmas & 4th of July of course!} One of my first new projects this fall was this wreath seen below. Can you tell what every-day household item I made this wreath out of?


DSC01656

If you guessed spoons – you’re right! I saw a Pinterest photo {pinned from Tip Junkie I think} of a wreath like this one, only using white spoons. I thought orange would be fun for Fall & Halloween! It’s a little bigger than I thought it would be {a good 18” or so across} so it may end up in my classroom décor, but it was a fun & easy project to make! What do you think?

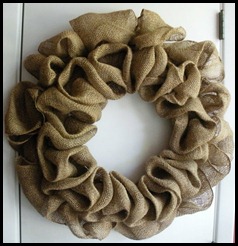
I also made a ruffled burlap wreath this week. I know, I know, if you’ve been reading my blog, I already made a burlap wreath a few weeks ago. But, if you’re new here, I should tell you I suffer from OCDD, also known as Obsessive Compulsive Decorating Disorder. ; -) I liked my other burlap wreath, but I couldn’t easily add the embellishments I wanted to on it, so I made another one! I was inspired by this photo on Pinterest:

RuffledBurlapWreath

This wreath sells on Etsy.com for $45!! Well, this girl-on-a-budget does not have $45 and I could not find any tutorials that looked like this – SO – I made up my own:
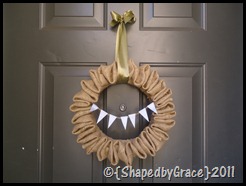

DSC01646

This wreath cost me about $5 to make because I already had the burlap & ribbon! I just bought a foam wreath circle. {Score!}

HOW TO MAKE YOUR OWN RUFFLED BURLAP WREATH:

You will need:
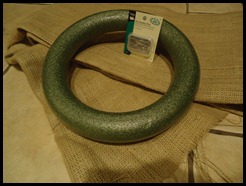
DSC01636

- a foam circle (or any wreath circle, foam piping from Home Depot, etc.)
- About 150 straight push pins, with flat heads so they don’t go all the way through your burlap.
- Scissors
- burlap (or any fabric of your choice would probably work) CUT into lots of 3-4” strips. (I think I used between 8-10 strips for this wreath.)


1. Wrap your foam circle completely using the burlap strips. Use the push pins along the way to keep the burlap from unraveling. 
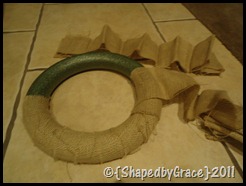
DSC01637

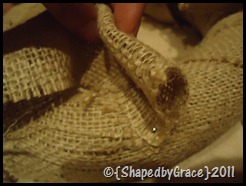
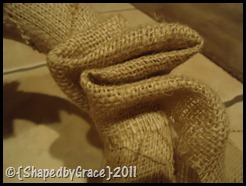
2. Take another strip & pin it to the wreath. Then, fold & roll about a 4” section of that burlap strip into your first ruffle:
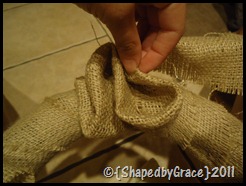
DSC01644

Keep folding into a ruffle shape; kind of like an S or figure eight fold. Pin each ruffle carefully along the way so it doesn’t unfold!
DSC01642

DSC01643

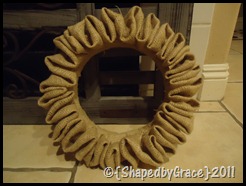
Keep going & going until the whole front of the wreath is covered! When you’re done, it should look something like this:
DSC01645


Back view:

DSC01649

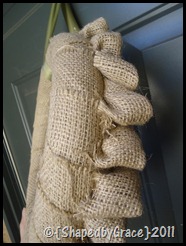
Side view:

DSC01648

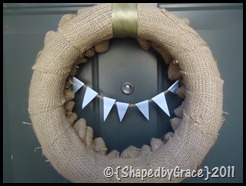
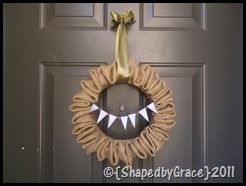
Front view! Here she is all decorated:
DSC01646


Now, I get to dress her up for fall – but I can’t decide how!! Help!! Which fall wreath do you like the best??

Black and White chic…
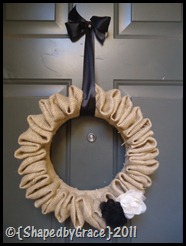
DSC01659
{Maybe I should add something orange to her?}

Country Fall…
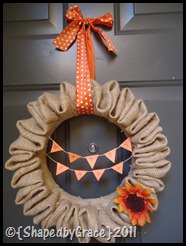
DSC01661


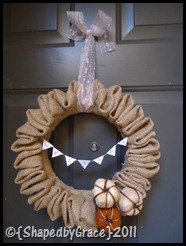
White Pumpkin Love…

DSC01665


Fall Pumpkin Love…

DSC01671

I do know I like the decorating potential for this wreath. But I don’t know which one to put on my front door! What do you think? Thanks for the help! :)  
 
 PS -- here is a version I also did for a friend's wedding gift. :) {Since the original post I also bought a new camera that takes MUCH better - and bigger! - pictures!!}  lol :):)


PPS - If you like this wreath -- I'd love it if you'd "like" my {brand spankin'} new Facebook page too! {See my sidebar for my fancy Facebook box!!} Thanks so much for the love! Blessings! :):)

Photobucket

Thanks for featuring my wreath!!:


Linking up here: Tatertots and Jello Best of 2011
Be Different Act Normal; Tatertots and Jello ; At The Picket Fence; French Country Cottage; TidyMom; Chic on a Shoestring; Homemaker in Heels; Tip Junkie; C.R.A.F.T.; Mommy by day... Crafter by night; 3 Four and Under; Craftaholics Anonymous; HomestoriesAtoZ; Delightful Order; eighteen25; Days of Chalk and Chocolate

Wednesday, August 24, 2011

New Use for Old Keys

Hello friends! First I wanted to thank everyone who sent me messages or left comments about my recent car trouble. They brightened my day and I appreciated each and every one of them! So thank you!! Second, I wanted to share that God totally blessed my boys and I through all of it and I’m happy to say that we now have a brand new car!! {Woohoo!} It’s a Honda Pilot and the nicest car I’ve ever owned in my life! I almost didn’t want to stop driving it to write this blog post! But, when they handed over my NEW keys, the crafter in me started wondering what people do with all their old keys? We all have them laying around. Keys from old homes, apartments, locks, etc. and probably keys we don’t even remember WHAT they unlock.
So, I came up with a quick project to repurpose your old keys. For one of the finished products I put the key on a necklace with a little gem! Read below to learn how to make your own!

DSC01621

{How to give your key a makevor}:
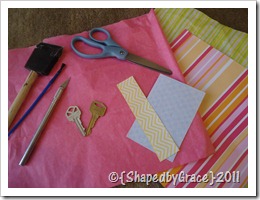
YOU WILL NEED:

DSC01591
  • Left over scraps of your favorite scrapbook paper. {You don’t need very much – only enough to cover your key}
  • Pencil
  • Scissors
  • Foam brush or paint brush
  • Exacto/Craft Knife
  • Mod Podge {not shown}
{WHAT TO DO}:

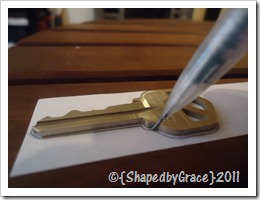
1. Trace the key onto the scrapbook paper {face down so you don’t get pencil marks on the pattern.} Trace it twice so you can cover both sides of your key.

DSC01595

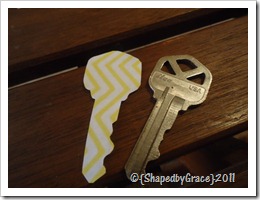
2. Cut out the key shapes. Here is what the paper should look like after you trace your key and then cut it out. 

DSC01597

3. Mod Podge/Glue the scrapbook paper carefully onto your key:

DSC01598

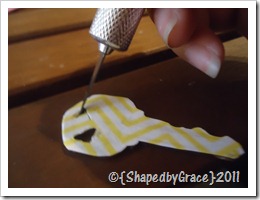
4. WAIT for the glue to dry and then cut out the hole shapes in the key.

DSC01603

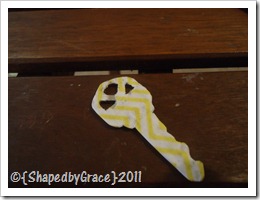
Below is what happens when you are impatient like I am and think you can cut it right away anyways. :(

DSC01602

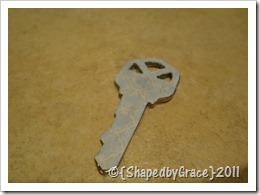
Here is what your keys should look like if you wait patiently! :)

DSC01606

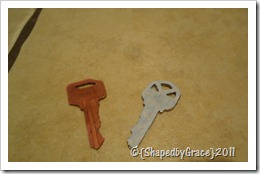
DSC01604

You can’t tell too well from the picture above, but the key on the left is pink. I used tissue paper for that one. Tissue paper was a little harder to work with. Also, you could see through to the key a little, but even so, what I liked about tissue paper was you could also see all the grooves in the key. So, it just depends on your preference.
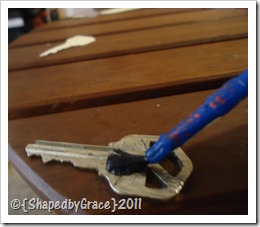
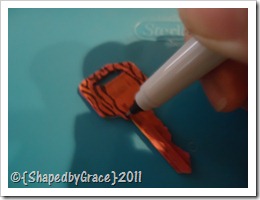
I thought the pink key could use some dressing up so I took out a fine point sharpie and started drawing:

DSC01611

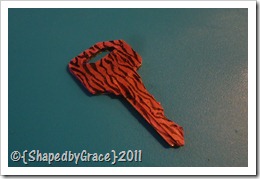
Done!

DSC01612

I'm lovin' the zebra stripe {AND the quatrefoil} trend! Now, I think the key is cute all by itself, but here are some ideas for you if you want to dress up your key even more:

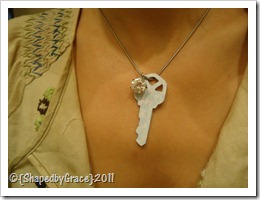
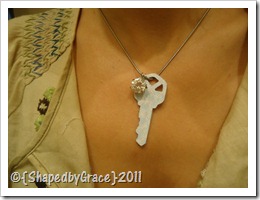
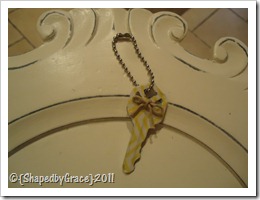
First, as a necklace {Did you know this key is actually the key given to me when I bought my house?} I changed the lock, but I still saved my very first key. Now I have a cute way to save & remember it!

DSC01621

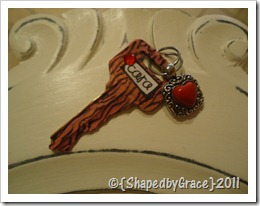
You could even add some embellishments… how cute would this pink zebra key be as a charm on a school backpack??

DSC01629

Remember that yellow key that I messed up cutting too early? Well, you could also cover up mistakes with gems, embellishments, some ribbon or twine!

DSC01633

I hope you enjoyed this little tutorial -- I bet my crafty friends out in blog world could think of even more new uses for old keys!! How about it? What would you make??

Photobucket

Linking to:
bear rabbit bear ; Tip Junkie; Nothing But Country; Ginger Snap Crafts; Blue Cricket Designs

Monday, August 22, 2011

The Simple Life

Sometimes unexpected things happen in life. For me, it was my car unexpectedly breaking down on our way home from Big Bear last weekend. Being stuck on the side of the road was no fun – and then I realized my car needed major repairs and I would have NO CAR for the rest of the week. Can you imagine what you would do with no car for one whole week?? My mind immediately ran down the list of all the places my kids needed to be, errands I needed to run, & important returns I needed to make. IMPORTANT. Key word. What was REALLY important that I HAD to do this week and what could I skip? Should I rent a car just to do these errands? I realized all the errands and returns were not immediate necessities. I had just gone grocery shopping, I had the keys to our community pool and I had a ride to take one son to his hip hop class & the other to a church sleepover. SO, I was GOOD. One week without a car! Let’s do this!
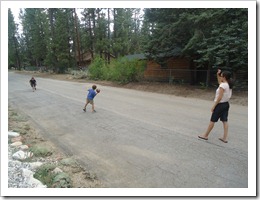
Here are some things I had time to do this week because I wasn’t running around like a crazy person doing errands:

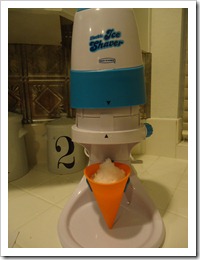
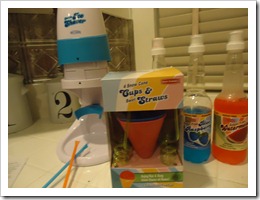
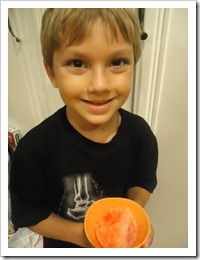
WE MADE SNOW CONES!!! We have been meaning to make these for the past few weeks! What took us so long?? They were delicious & so easy to make!

DSC01570
 
DSC01575

{That snow cone syrup is sugar free too!} 

DSC01571


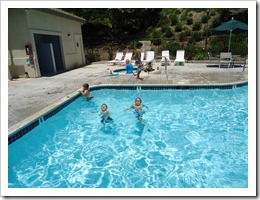
WE WENT TO THE POOL: 

DSC00722


WE WENT HIKING on trails near our house. {Thanks to some very nice friends who picked us up so we could go!}

Hike


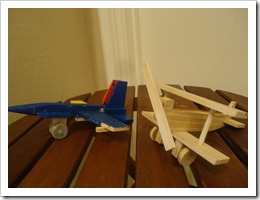
WE MADE MODEL AIRPLANES – another project we had been meaning to do:

DSC01582

AND we ordered pizza, watched movies, played Apples to Apples {Disney Version!} and did not miss running our errands one little bit! In the meantime, I know God is going to turn this little series of unfortunate car events into a blessing. For now, I am thankful for friends who came out of the woodwork to help a girl out and the precious hang out time with my not-so-littles. xo
Photobucket

Wednesday, August 17, 2011

Our Favorite Place

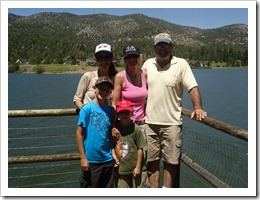
Everyone has a favorite vacation spot or local place to visit. For us, other than home, Big Bear is our FAVORITE place – our place to get away from it all. More enjoyable than the lake, the hiking trails & the mountain snow, is the TIME that we get to spend together as a family. Up until last year, we didn’t even have cable TV in the cabin. Most of the time we go for a walk, talk and play board games. So, here are just a few reasons we love Big Bear so much!

1. WE GET UNDIVIDED GRANDPA & GRANDMA TIME. {This is the first & best reason. All the others are just icing on the cake.} xoxo

DSC01527

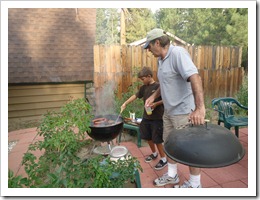
2. THE BOYS BBQ. Sean works the BBQ with grandpa & little man shucks the corn. {It’s tradition!}

DSC01479

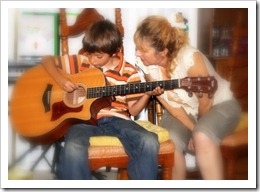
3. MY MOM PLAYS GUITAR {And sometimes teaches the boys a strum or two.}

guitar

4. WE PLAY FOOTBALL {Well, I TRY. My boys throw perfect spirals and I throw what they call "ducks". I tell them if they can catch a ball I throw - they can catch ANYTHING!!}

DSC01475

DSC01497


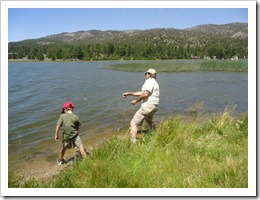
5. WE SKIP ROCKS BY THE LAKE

DSC01534
{See my previous post on How to Skip a Rock!}

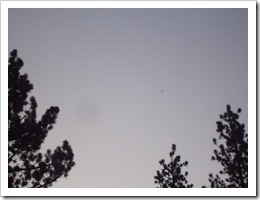
6. And at TWILIGHT, we sit patiently outside and WATCH AS THE BATS START TO WAKE UP:

DSC01501
{See that little black speck? That’s a bat! They’re kind of hard to catch in a picture but really only cool from that far away anyway.} At some points they were literally flying right over our heads! You would think that was scary, but they leave us alone & just look like birds flying around. Twilight is the prime time for bats since that is when they wake up and hunt their prey. Yes, I am avoiding many Stephanie Meyer references here! {Team Edward!}

This trip we added a few extra activities too.
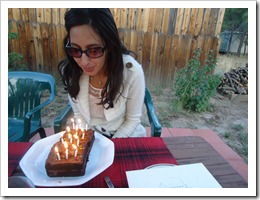
7. Since I hadn’t seen my parents in a while, WE CELEBRATED MY BIRTHDAY:


DSC01485


DSC01492 {Aaww}<3

AND…

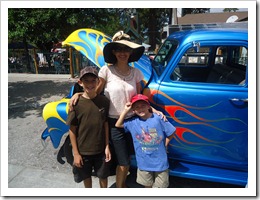
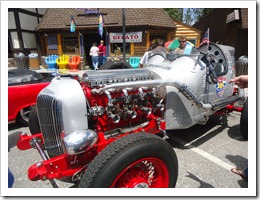
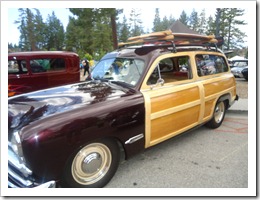
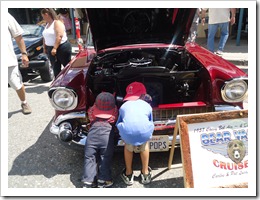
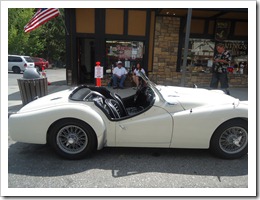
8. We went to THE CLASSIC CAR SHOW!! I'm not much of a car person but the show was SO MUCH FUN!! Here are just a few of the really awesome cars we saw!

DSC01419


DSC01463


DSC01468


DSC01448
{Can you tell which one is the prop kid & which one is real??} 


DSC01439
Those were some amazing cars!! 

It was an all around great weekend {even though I had some car trouble on the way home – but let’s not spoil this post with that!} and we left with a great end cap to a relaxing summer! Are there really only 3 WEEKS LEFT?!?! 
As Sean said “Grandpa, you put the BIG in BIG BEAR.” Until next time Big Bear… we miss you already!


DSC01560

"Gladness and joy will overtake them, and sorrow and sighing will flee away. You will go out in joy and be led forth in peace; the mountains and hills will burst into song before you, and all the trees of the field will clap their hands." ~Isaiah 55:11-12 <3

Photobucket
Related Posts Plugin for WordPress, Blogger...